


Rendering Single Components – Adding React to an Existing Web Application
This article is part of series on adding React to an existing server side rendered application.
Booked will never be a single page application. It just doesn’t make sense. But I still wanted to get the benefits of all the awesome stuff React allows you to do. The fact that React doesn’t require your whole application to be a “React application” is one of it’s strongest features.
Let’s take quick look at some of the places I converted existing functionality (mostly jQuery or basic JavaScript) to React components.
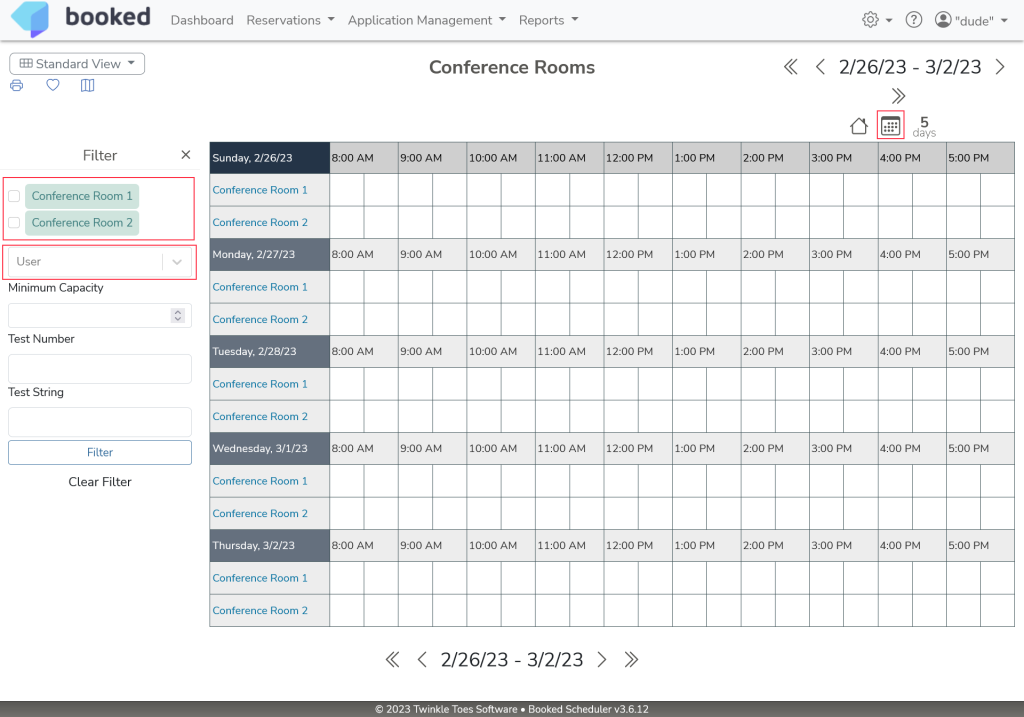
The blocks outlined in red are React components rendered within an otherwise server side rendered PHP page.
Making React Components Available
Project Structure
We have our React components separated by usage – App for application-specific components like the Reservation page or Reports filter, Admin for admin-specific components like Resource Management, and WebComponents for general-purpose reusable components like date pickers or user autocomplete. Organizing your React application is largely personal preference. The organization itself doesn’t change the approach to making these components available.
“Publishing” the Components
Here’s where we get into some funkiness. We’re bundling up the components by use case (we’ll cover the Webpack configuration below). To do this, we need a single entry point. The easiest way to do this uses an index.tsx file, which is responsible for importing and exporting the collection of components. The problem is the front-end client isn’t using JavaScript modules where you can simply import. So we need to get crafty. I decided to use the JavaScript global object to make these components available. Let’s take a look.
/react-app/src/WebComponents/index.tsx
import React from "react";
import { createRoot } from "react-dom/client";
import { BookedDatePicker } from "./BookedDatePicker";
import { ResourceBrowserComponent } from "./ResourceBrowser";
import { UsersAutocomplete } from "./UsersAutocomplete";
import { ResourcePickerComponent } from "./ResourcePickerComponent";
import { BookedCopyToClipboard } from "./BookedCopyToClipboard";
import { BookedCustomAttribute } from "./CustomAttributes/BookedCustomAttribute";

global.React = React;
global.createRoot = createRoot;
global.ReactComponents = {
  BookedDatePicker,
  ResourcePicker: ResourcePickerComponent,
  UsersAutocomplete,
  ResourceBrowser: ResourceBrowserComponent,
  BookedCopyToClipboard,
  BookedCustomAttribute,
};
There’s not much going on here, but let’s quickly review. We import React and the createRoot DOM function, both of which are needed because we’re not using the React CDN. Then we just import all the shared web components. Lastly, we just stuff each of those elements on the global context, making it available to any consumer.
“Consuming” the Components
Because we’re rendering the components from plain old HTML, we can’t just render JSX components. So something like this will throw syntax errors
const root = ReactDOM.createRoot(
  document.getElementById('root')
);
const element = <h1>Hello, world</h1>;
root.render(element);
Luckily, React has a JavaScript API for creating components From within a page we can use the ResourcePicker component that we published above using this code
const browser = createRoot(document.getElementById('resource-tree-browser'));

browser.render(React.createElement(ReactComponents.ResourcePicker, {
  componentProp1: "prop1 value",
  componentProp2: "prop2 value",
}));
Again, this is pretty straightforward. We put all of this on the global object, so it’s just ready to be used. First, we create the React component root, then we create the component element and render it to the root. React.createElement lets us pass component props as an object as the second parameter.
Bundling React Components for Server Side Rendered HTML
This is a pretty standard server side rendered application. When we load JavaScript files, we just use the <script> tag to do so. The problem we run into here is the fact that Webpack bundle file names change all the time depending on how vendor libraries are bundled.
Webpack is mainly used for bundling, but it also has static HTML generation capabilities using the html-webpack-plugin. We’re going to take advantage of that to automatically create the JavaScript and CSS references we need to load the components. Let’s circle back to the Webpack config from the previous article and cover some details we skimmed over.
webpack.config.js
const {resolve} = require("path");
const MiniCssExtractPlugin = require('mini-css-extract-plugin');
const HtmlWebpackPlugin = require('html-webpack-plugin');

const isProd = process.env.NODE_ENV === "production";

const templateContent = ({htmlWebpackPlugin}) => {
    const jsFiles = htmlWebpackPlugin.files.js.map(fileName => {
        return `<script src="${fileName}"></script>`;
    }).join("\r\n");

    const cssFiles = htmlWebpackPlugin.files.css.map(fileName => {
        return `<link rel="stylesheet" type="text/css" href="${fileName}"/>`;
    }).join("\r\n");

    return `${jsFiles} ${cssFiles}`;
};

const config = {
    mode: isProd ? "production" : "development",
    entry: {
        admin: "./react-app/src/Admin/index.tsx",
        components: "./react-app/src/WebComponents/index.tsx",
        app: "./react-app/src/App/index.tsx",
    },
    output: {
        path: resolve(__dirname, "Web/scripts/dist"),
        filename: "[name].js",
        clean: true,
    },
    optimization: {
        splitChunks: {
            chunks: 'all',
        },
        runtimeChunk: 'single',
    },
    resolve: {
        extensions: [".js", ".jsx", ".ts", ".tsx"],
    },
    module: {
        rules: [
            {test: /\.tsx?$/, use: "ts-loader", exclude: /node_modules/,},
            {test: /\.css$/, use: [MiniCssExtractPlugin.loader, 'css-loader']},
            {test: /\.js.flow$/, use: 'ignore-loader'},
        ],
    },
    plugins: [
        new MiniCssExtractPlugin(),
        new HtmlWebpackPlugin({
            inject: false,
            minify: false,
            filename: `../../../tpl/bundle-admin.tpl`,
            templateContent: templateContent,
            chunks: ["admin"],
        }),
        new HtmlWebpackPlugin({
            inject: false,
            minify: false,
            filename: `../../../tpl/bundle-components.tpl`,
            templateContent: templateContent,
            chunks: ["components"],
        }),
        new HtmlWebpackPlugin({
            inject: false,
            minify: false,
            filename: `../../../tpl/bundle-app.tpl`,
            templateContent: templateContent,
            chunks: ["app"],
        }),
    ],
};

module.exports = config;
This needs a bit of explanation. And we’re going to work bottom to top.
plugins
In the plugins configuration, we add a HtmlWebpackPlugin entry for each bundle chunk we create. For each one, we tell it which chunk to process (the chunk names map to the entry config names), the output filename to write to, and the templateContent processor function to use. The inject prop just tells the plugin not to generate any HTML, which it would do by default. Setting minify to false ensures the plugin doesn’t try to parse and optimize the resulting HTML. This is important because we’re just generating HTML fragments, not an entire page.
templateContent
The templateContent parameter is a JavaScript function that receives the plugin object as a parameter and returns the generated template content as a string.
Here’s the resulting file contents of /tpl/bundle-components.tpl
<script src="../Web/scripts/dist/runtime.js"></script>
<script src="../Web/scripts/dist/222.js"></script>
<script src="../Web/scripts/dist/410.js"></script>
<script src="../Web/scripts/dist/406.js"></script>
<script src="../Web/scripts/dist/877.js"></script>
<script src="../Web/scripts/dist/components.js"></script>
<link rel="stylesheet" type="text/css" href="../Web/scripts/dist/222.css"/>
Within the templateContent function we can do any kind of processing we want to the file name. For example, rewriting the path to the website root or tacking on cache busting.
React Components Everywhere!
Booked uses Smarty for templating, so I can just include that file anywhere I want to use the shared React WebComponents. This makes it extremely easy to reuse components across the entire application. And as long as new components are published using the same pattern, they will automatically be available everywhere it’s included.